How to change laptop name?

How to Change Laptop Name: A Step-by-Step Guide
In today’s digital age, laptops are essential tools for both personal and professional tasks. Just like your smartphone, your laptop’s name plays a role in identifying it, especially in networks, file sharing, and system settings. Changing the name of your laptop can be a simple yet important task, whether you’re personalizing it or trying to make it easier to identify on a network.
If you’ve ever wondered how to change your laptop name, whether it’s for a fresh start, better organization, or simply personal preference, you’re in the right place. In this blog, we will walk you through how to change your laptop name on various operating systems, including Windows, macOS, and Linux. Let’s dive in!
Why Change Your Laptop Name?
Before jumping into the steps, let’s explore some reasons why changing your laptop name might be useful:
- Personalization: By giving your laptop a custom name, you can make it feel more personal, and it’s easier to remember.
- Network Organization: When you connect to a network, your laptop’s name is visible to others. A more meaningful name helps you stand out or makes it easier for network administrators to identify your device.
- File Sharing and Connectivity: A recognizable laptop name makes it simpler to share files or connect to printers and other devices, especially when working in a home or office network environment.
- Professionalism: For work-related laptops, especially those used in a corporate setting, naming conventions can follow standards to ensure clarity and uniformity across devices.
- Troubleshooting and Support: If your laptop encounters issues, a recognizable name makes it easier to identify when troubleshooting, especially when multiple devices are involved.
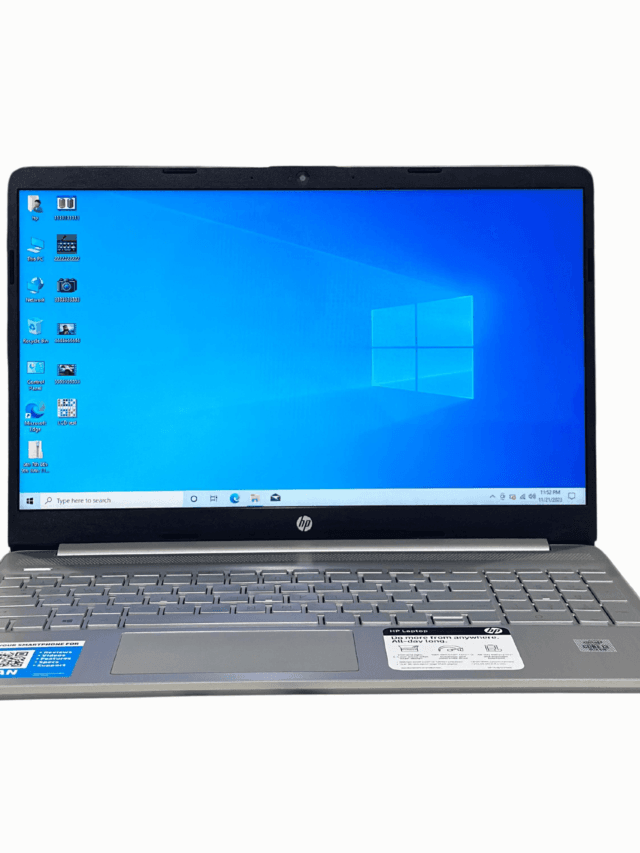
How to Change Laptop Name on Windows
In Windows, changing the name of your laptop can be done through the system settings. Whether you’re using Windows 10 or Windows 11, the process is quite similar. Let’s go through it step-by-step.
For Windows 10
- Open the Settings Menu:
- Click on the Start menu (Windows icon) in the bottom-left corner of your screen.
- Select Settings (the gear icon).
- Go to System Settings:
- In the Settings window, click on System.
- Navigate to About:
- On the left sidebar, scroll down and select About.
- Change Your PC Name:
- In the “Device Specifications” section, you’ll see a Rename this PC option.
- Click on Rename this PC.
- A prompt will appear asking you to type in a new name for your laptop.
- Enter the new name (make sure it’s not too long or contains spaces or special characters).
- Restart to Apply Changes:
- After typing in your desired laptop name, click Next.
- You will be prompted to restart your laptop for the changes to take effect. Click on Restart Now.
For Windows 11
- Open Settings:
- Right-click on the Start menu and select Settings.
- Navigate to System:
- In the Settings window, click on System on the left side.
- Find the About Section:
- Scroll down and select About.
- Rename Your Laptop:
- Under the Device specifications section, click on Rename this PC.
- A pop-up window will appear asking for the new name. Enter your desired laptop name.
- Click Next, and then restart your laptop to apply the new name.
Tips for Choosing a Name:
- Avoid Special Characters: Stick to letters, numbers, and hyphens. Spaces or special characters like “&” or “%” may cause errors.
- Keep It Short: A name that’s too long can be cumbersome in network environments.
- Be Descriptive: Consider a name that reflects your laptop’s purpose or your personal preference, such as “WorkLaptop” or “JohnsLaptop”.
How to Change Laptop Name on macOS
If you’re using a Mac, changing the laptop name is equally straightforward. Here’s how you can do it on macOS:
For macOS (Big Sur and Later)
- Open System Settings:
- Click on the Apple logo at the top-left corner of the screen and select System Settings (or System Preferences on older versions).
- Go to Sharing Settings:
- In the System Settings menu, look for and select Sharing.
- Change Your Mac’s Name:
- At the top of the Sharing settings window, you will see a field labeled Computer Name.
- Click the text field next to Computer Name, and type the new name for your Mac.
- Exit Settings:
- Simply close the Settings window. The changes will automatically be saved.
For macOS (Catalina and Earlier)
- Open System Preferences:
- Click on the Apple logo and select System Preferences.
- Select Sharing:
- In the System Preferences window, click on Sharing.
- Change Your Mac’s Name:
- You’ll see a field at the top called Computer Name. Edit this field to the new name you want.
- Exit Preferences:
- Close the window, and the changes will take effect immediately.
Important Notes for macOS:
- The computer name will show up in various network locations, including AirDrop, file sharing, and when connecting to other devices.
- Like Windows, avoid using special characters or spaces in the name.
How to Change Laptop Name on Linux
Changing the laptop name on Linux depends on the specific distribution and desktop environment you’re using. However, it generally involves editing configuration files and using terminal commands.
For Ubuntu or Other Debian-Based Distributions
- Open Terminal:
- Press Ctrl + Alt + T to open the terminal.
- Check Your Current Hostname:
- Type the following command to view your current laptop name:bashCopy code
hostname
- Type the following command to view your current laptop name:bashCopy code
- Edit the Hostname:
- You’ll need to edit the hostname configuration file. To do this, run the following command:bashCopy code
sudo nano /etc/hostname - This will open the hostname file in the terminal. Delete the old name and type the new one.
- You’ll need to edit the hostname configuration file. To do this, run the following command:bashCopy code
- Edit Hosts File:
- Now, you need to update the
/etc/hostsfile to reflect the change. Run the command:bashCopy codesudo nano /etc/hosts - Find the line starting with
127.0.0.1and replace the old hostname with the new one.
- Now, you need to update the
- Restart the System:
- After making these changes, restart your laptop for them to take effect:bashCopy code
sudo reboot
- After making these changes, restart your laptop for them to take effect:bashCopy code
For Other Linux Distributions (Like Fedora or Arch)
The process is largely similar to the above, although the configuration files and commands may vary slightly depending on your specific distribution. The general steps involve editing the /etc/hostname file and the /etc/hosts file, followed by a system restart.
Troubleshooting
While changing your laptop name is usually a simple process, some common issues may arise. Here are a few troubleshooting tips:
- Changes Not Applied Immediately: If the new name doesn’t take effect immediately, try restarting your laptop. In some cases, a network restart might also help.
- Invalid Characters: If you use invalid characters or spaces in the name, your system may reject it. Stick to letters, numbers, and hyphens.
- Network Conflicts: In some cases, especially in a corporate environment, the laptop name may conflict with another device on the network. Try a more unique name if you encounter this issue.
Conclusion
Changing the name of your laptop is an easy way to customize your device, improve network organization, and enhance your overall digital experience. Whether you’re using Windows, macOS, or Linux, the process is simple and can be done in just a few steps. Personalizing your laptop name can be both fun and practical, so go ahead and give your device a name that suits you!
By following the guides above, you can easily rename your laptop according to your preferences, making it stand out in networks, file-sharing settings, and more.

 Acer Laptop
 Dell Laptop Price
 Laptop HP
 Lenovo Laptop Price
 Apple MacBook


